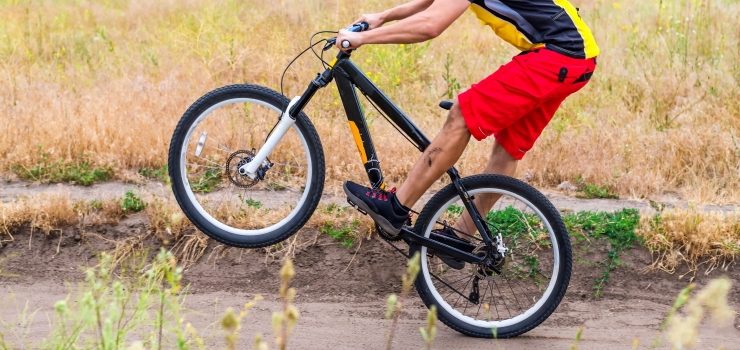
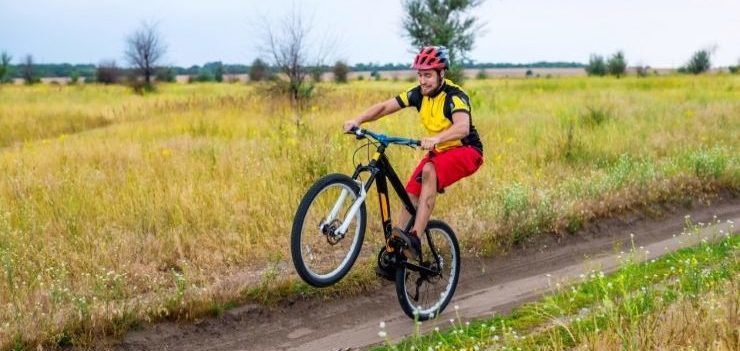
The wheelie is probably the first and most iconic bike trick you will learn. Right now, there is a kid somewhere out there trying to learn how to do a wheelie. At one point or another, we have all tried to do it.
When it comes to mountain biking, a wheelie not only looks cool, but it provides a unique tool to overcome obstacles on the trail. To learn how to wheelie, you will need to master some basic techniques and learn how to shift your balance.
Below, we’ve outlined some essential tips on how to get that front wheel off the ground and keep you from crashing while doing a wheelie.
Page Contents
Step 1 – Keep It Slow and in Low Gear

One of the first mistakes people make is attempting to do a wheelie while going fast. It is a recipe for disaster and could potentially result in an injury. Regardless of what you think, the best way to learn how to do a wheelie is by going slow. Make sure that you slow down and adjust your speed to a normal walking pace.
Also, don’t forget to downshift to a low gear, which will come in handy once you lift the wheel off the ground. The last thing you want to worry about with one wheel in the air is the ability to pedal and drive your bike without losing your balance.
Step 2 – Lead Foot on Top
Contrary to popular opinion, you do not need to use your arms to pull the handlebars and lift your front wheel in the air. The main driving force behind the liftoff is the force behind driving your pedals. It is essential that before attempting to do a wheelie, you place your lead foot on the top of the pedal turn, preparing to push down in one quick, explosive stroke.
If you do this correctly, the front wheel should begin to lift off the ground. In the beginning, it might be useful to try doing it on a slight incline, which will make the liftoff easier to achieve.
Step 3 – Lean Back and Maintain
As you press down the pedal with force, straighten your arms and lean back slowly to generate lift. Don’t lock your arms, because it will be challenging to maintain balance later. As soon as you begin to lean back, the front wheel should slowly lift off the ground.
If your front wheel and handlebars are flopping around, this is a sure sign that you are pulling on them, rather than relying on the pedal stroke to generate lift. The pedal stroke pushes the force through the bike’s center of gravity, making the lift more balanced and stable. Although you could learn how to wheelie by pulling on the bars with practice, it is much more difficult to control and apply this technique on the trails.
Step 4 – Keep Balancing

With your front wheel in the air, it is now time to keep moving forward and maintain delicate balance. In the beginning, it will be difficult to maintain the lift for a long time. However, with practice you will feel the balancing point quickly and stay on it longer.
Look ahead and try to maintain both back-and-forward and side-to-side balance. If you feel the bike steering or leaning to one side, use your opposite knee to balance it out. By throwing out your knee in the opposite direction, you will reacquire balance and steer your bike in the right direction.
Step 5 – Back Brake Safety On
Leaning too far back can lead to an accident, and falling flat on your back or your head with your bike landing on top of you is no laughing matter. That’s why it is important to always have a finger on the back brake. Pulling the lever on the back brake will quickly transfer your weight forward, bringing the front wheel down and putting the bike flat on the ground.
It sounds complicated when broken into five steps, but doing a wheelie is just one fluid motion once you get the hang of it. If you want to be one of the cool kids, all you need to do is go out and practice.
References
- HOW TO WHEELIE ON A MOUNTAIN BIKE – Liv Cycling
