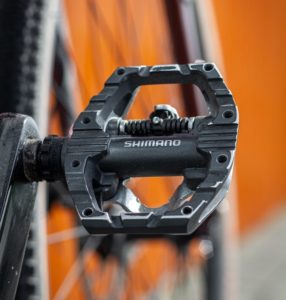
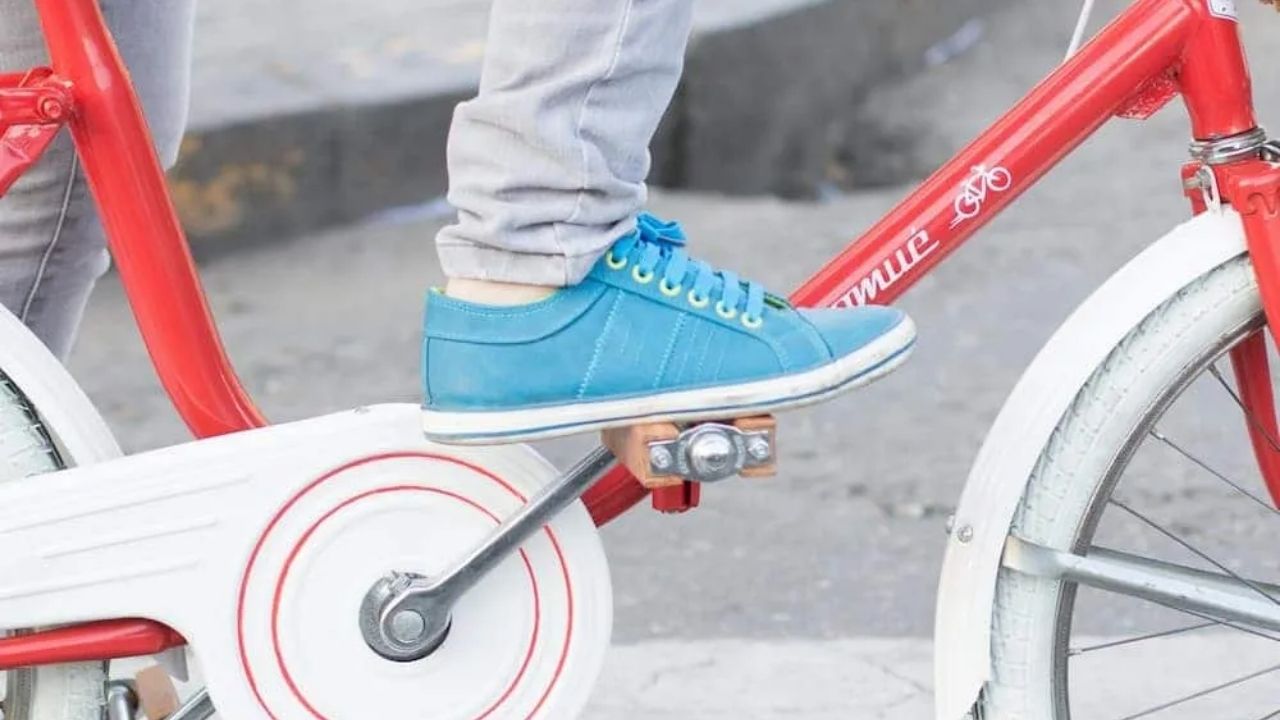
Knowing how to remove, fix and reinstall bike pedals correctly is as tricky as it gets. Even I used to think, “Well, how hard could it be to remove a stuck bike pedal?” Most of us think that way until there’s a stuck pedal, and the pedal doesn’t come out with the conventional methods.
In case you’re not one of “us” and only came here to add yet another basic yet super important bike maintenance skill under your belt, good job!
Every bike should know basic bike maintenance stuff like replacing and fixing a rusty bike chain or putting air in the tires. So, by the end of this quick guide, you’ll know how to remove, fix and reinstall a stuck bike pedal and some pro tips to make your job a whole lot easier.
Read More: How do you get bike grease out of clothing? Is it permanent?
Page Contents
How to remove bike pedals with tools?
You’ll need the following tools to remove pedals from your bike regardless of whether they’re stuck or you’re just doing routine maintenance:
- Specialist wrench or Allen key
Depending on the type of your pedal, you’ll only need one of the two – a 15mm specialist wrench (hex wrench) or an 8mm Allen key. We’ll use them to unscrew the crank arm, so the pedal comes off easily.
To determine which one you’ll need, inspect how the pedal connects to the crank arm or the axle of the pedaling mechanism. If there are flats, then you can clench a wrench on it. If not, check the end of the crank arm at the back of the pedal. It’ll have a hole to use Allen key.
Most expensive road bikes follow the Allen key mechanism, while cheaper ones use flats to use wrenches.
- Anti-seize Lubricant
You’ll need to reapply grease while reinstalling the pedals to avoid friction between the pedal and the crank arm. While you can leverage bicycle lubricants for this task, I prefer using anti-seize lubricants.
Less friction would not only mean smoother pedaling, but it’ll eliminate the “squeaky sounds,” too. The appropriate lubrication will also help to prevent rust and decay. And as I always say, grease in moderation. If you put too much, it’ll make gunk by sticking dirt.
I recommend buying Permatex Anti-seize lubricant. Now, let’s start removing.
Step 1: Positioning The Bike
First and foremost, you need to prepare the bike before removing medals. And by that, I mean either use a bike stand or repair stand. This will keep the bike stable while you remove the pedals.
Next, shift the bike chain to the largest gear (or the largest chainring), so it doesn’t come in between when you’re working on the pedals. You can remove pedals without this, but you’ll probably get cuts and scratches when your arms rub against the chain.

Step 2: Preparing The Pedal & Crank Arm
This part is relatively easy. Just rotate the bike on the stand so that the pedal and crank arm are easily accessible. After which, you can rotate the crank arm along its axle to get even better access.
Step 3: Loosen The Pedal Using Correct Tools’
Now, either go with step 3.1 or 3.2, depending on your pedal mechanism and respective tool.
3.1 – Using Pedal Wrench
Clench the hex wrench onto the flat surface of the bike pedal at the axle (where it meets the crank arm). Try to do it in different positions – the idea is to clench the wrench on the flat end (not lateral) while maintaining a 90-degree angle between the wrench and crank arm.
You can use the specialist wrench normally, but this setup would give it a mechanical advantage, and you won’t damage the axle. Finally, turn it left or right (depending on the pedal) and loosen the threads.
3.2 – Using Allen Key
Using an Allen key is much simpler because the hole at the back end is already in hex shape. Insert the mouth of the Allen key while you rotate it left or right by holding the longer end of the key. It’ll quickly loosen the pedal from the crank arm threads.
Step 4: Removing The Pedal
3.1 – Using Pedal Wrench
Once it’s loose, you can keep rotating the wrench in a similar position to make it come out entirely.
3.2 – Using Allen Key
Once it’s loose, switch the position of the Allen key. Hold it from the mouth and insert the long end into the hex hole to quickly take the pedal out.
Step 5: Remove The Other Pedal
Repeat steps 3 and 4 on the other side to remove the other pedal.
How do you remove bike pedals without proper tools?
You cannot remove pedals without using any tool at all. If you can, then the pedals were not tightly screwed, to begin with. And you won’t be able to screw them back correctly either. Some tool – an Allen key or a pedal wrench – is required to accomplish the task.
So, what do I mean by “removing bike pedals without the right equipment?” It means that you can still remove your pedals even if you don’t have an Allen key or a specialist wrench. All you’ll need is a standard 15mm wrench that you can get from almost anywhere.

The method of removing bicycle pedals using a standard 15mm wrench is the same as the one we did earlier with the pedal wrench. First, you position the bike and pedals. Next, you find an optimal position for the wrench to clench on. And finally, you loosen and remove the pedal off.
The only difference is that specialist wrenches are explicitly made for bicycle pedals. So, you’ll need to be extra gentle and careful while using a standard wrench to avoid any nicks in the pedal axle.
Read More: How to tighten a bike chain on single and multi-gears?
What is the easiest way to remove bike pedals?
The easiest way to remove pedals is by either using a 15mm specialist wrench (spanner) or an 8mm hex key (Allen wrench). The best tool will vary depending on the pedal type. You can also remove pedals without using the correct equipment, but it’s much easier the other way.
Before you remove your pedals and whatnot, you need to understand the primary mechanism of bicycle pedals and the pedal spindle to work on them effectively.
1. Are bike pedals reverse-threaded?
The left pedal is reverse-threaded (counter-clockwise), so it can’t be removed using the conventional “lefty loosey” method. It’s done to prevent you from accidentally unscrewing the left pedal due to the momentum while you’re pedaling (cycling). The right pedal is threaded clockwise.
It’s pertinent to know the current terminology and positioning of the bike pedals as well. The “right pedal” is one on the drive side of the bike where the chainrings are. And the “left pedal” is located on the non-drive side of the bike.
The left pedal is unscrewed in the clockwise direction while facing the left crank arm because the left pedal spindle is reverse threaded. The process should be done gently while applying only the necessary force to prevent the pedal threads from getting damaged.
2. Can you use WD40 on bike pedals?
Due to the unquestionable quality of WD40, it has become a community standard for greasing and degreasing purposes. But that has been creating a lot of confusion nowadays. New bikers often ask me if they should use WD40 on either pedals. And the answer is NO.
You cannot use WD40 on your bicycle pedals because it’s made for bike chains. Moreover, WD40 is a degreaser used to remove old gunk from the chain. It isn’t a lubricant. You can use grease designed explicitly for bike pedals that you can use instead of the WD40.
3. How tight should the bike pedals be?
Bicycle pedals are the most important because they help you build momentum and maintain balance. Any issue in alignment or positioning will make the bicycle unstable.
As such, if they’re too loose, they’ll come off. And if the pedals are too stiff, you won’t be able to pedal properly.
The bicycle pedals should be finger-tight, which means as compact or fit “as they can be using fingers (or without tools).” Check the pedal manually while screwing and shake it after tightening it to ensure it’s tightly screwed. Then, pedal around your house and see if you notice any issues.
Alright, enough about removing pedals. Let’s move on to fixing them now.

How do you fix a bike pedal?
Fixing the right and left pedals on your bicycle is a straightforward task – they can be tightened and maintained but not fixed. That is, a broken bicycle pedal is unfixable, so you’ll need to buy new pedals.
Assuming you already know that the most common issue after a broken pedal is one where the pedals keep falling off. This can happen because of one of the two ways – either loose or has broken threads.
Fixing a bike pedal: If they’re loose, you can take both the pedals out and reinstall them using the right methods so that they don’t fall off again. But if you notice broken crank threads after taking the pedal out, you’ll need to get them fixed at a bike shop.
Crank threading (and the crank itself) are made of soft aluminum, which gets damaged over time. Take them to a bike shop and ask the person there to drill out slightly larger threads. It’ll cost you 5-10$, and you’ll be able to use the pedals again.
How to reinstall bike pedals?
You’ll need the respective tool for your pedal and a torque wrench that helps tighten the pedal to reinstall the bicycle pedals.
Step 1: Preparation
Clean the pedals properly and apply some anti-seize on the threading and the axle. Don’t apply too much, or it’ll attract gunk.
Step 2: Alignment
Align the pedals on their respective crank arms at a 90-degree angle (aka 3 o’clock position) prior to install.
Step 3: Tightening
Use the Allen key, wrench or pedal spindle to tighten the pedal the same way you made it loose. If you feel resistance at the end, use a torque wrench.
Well, now you have another great skill under your belt for whenever you get stuck with a damaged or loose pedal while cycling on the road. It’s pertinent to go through the bike pedals removal and reinstallation process now and then (but not too often) for proper maintenance.
